Craving crushed ice for a drink or dessert, but your freezer only gives you hard cubes? You can make it in minutes with the right blender setup, and it is easier than it sounds. The key is using small batches, quick pulses, and a little patience so you do not end up with ice dust or a stressed blender. Once you know the simple steps, you will get a soft, fluffy texture that works for slushies, cocktails, and more.
What You Need for Crushed Ice
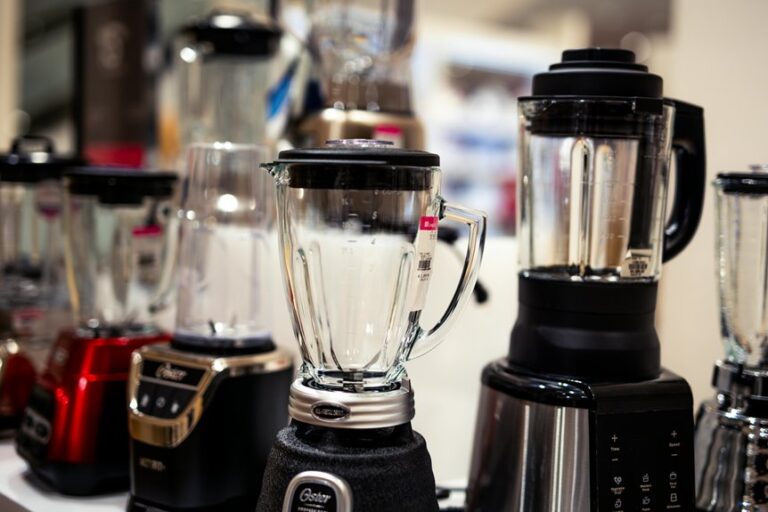
Before you start, gather the right blender and the right ice, because that’s what makes crushed ice easy instead of messy. Choose a blender rated for ice, or one with an Ice Crush or Pulse setting. Check the manual so you protect the motor and keep ice safety in mind.
Next, consider blender capacity. A fuller pitcher can jam cubes, but a little open space helps them move and break evenly. Use regular ice cubes, since big chunks fight the blades and slow you down. If your batch feels too large, split it up. Also, keep a fine mesh strainer nearby so you can catch extra meltwater later.
As you prep these basics, you set yourself up for smoother results and a lot less kitchen drama.
How to Make Crushed Ice in a Blender
Start with the right ice because small cubes crush more evenly and give you better control.
Then use short Pulse bursts instead of letting the blender run nonstop, so you protect the motor and keep the texture from turning slushy.
Keep checking the mix as you go, and stop once the ice looks light, even, and just right for your drink.
Choose The Right Ice
The ice you choose can make or break the whole blender job, so it helps to be selective here.
You’ll get better results with regular ice cubes instead of large blocks because the size stays consistent and the blades can grab each piece more easily. If your cubes feel rock solid, that hardness can make the blender work harder, so let them sit for a few minutes first. Freshly frozen cubes from a clean tray also tend to crush more evenly than cloudy, clumped ice. Try to use cubes that are similar in size, since that helps you stay in control rather than fight the machine. With the right ice, everything feels smoother, faster, and less messy.
Blend In Short Bursts
Pulse the blender in short bursts so the ice breaks down without turning into a watery slush.
You’ll get better control when you tap the Pulse button for about one second at a time, then pause. This keeps the pieces moving and helps you notice what’s happening inside.
When you hear the blades slowing down, stop and let the motor rest. That short break lowers motor strain and keeps your blender from working too hard.
Between bursts, give the pitcher a gentle shake so the cubes settle again.
Good pulse timing helps you stay in control, and you won’t need to guess.
Keep going in short rounds until the ice looks evenly crushed. Then you’re ready to move on with confidence.
Achieve Ideal Texture
For the best crushed ice, aim for a mix that looks even, fluffy, and light, not wet or mushy. You want the texture balanced so the pieces stay small enough for drinks but still hold their shape. If the ice seems powdery, you have gone too far.
If it looks chunky, pulse once or twice more. Watch for crystal consistency because that clean sparkle helps the ice feel fresh and welcoming in every glass. You can also stop blending once most pieces match in size, then strain off any extra water.
That small step keeps the texture crisp and helps the ice stay separate. Trust your eyes here. Once the ice looks soft and snowy, you have found the sweet spot, and your drinks will feel more inviting.
Pick the Right Blender Speed for Crushed Ice
Start on low speed so the ice doesn’t jam up or turn into a watery slush too fast.
Then use short pulses to give the blades time to catch each cube and break it down more evenly.
When a few larger pieces remain, keep pulsing in quick bursts until the texture looks right.
Start On Low Speed
When you use the right speed, crushed ice comes together fast without turning into a watery mess. Start on low speed so you can watch the ice settle and keep control. This gentle start reduces motor strain and lets your speed control work for you, not against you. You’ll hear the machine settle in, and that steady rhythm helps you feel more confident in the kitchen.
If the cubes jump around, pause and reset them so they can catch the blades again. Then move up only as needed, and avoid overfilling the pitcher. That simple pace helps your blender stay steady, and it gives you ice that feels crisp, even, and ready for your drink.
Pulse For Better Texture
Pulse is often the safest way to turn ice cubes into a soft, even crush without pushing your blender too hard. You stay in control, and your pitcher stays happier too.
Use short bursts, then pause so the ice can settle before the next hit. That pulse timing helps you spot big chunks fast, and it keeps the mix from turning watery.
When your blender feels strong, you can use burst control with a few quicker taps, but don’t hold the button down. Instead, listen for the sound to change and stop once the pieces look right.
A gentle shake between pulses can move concealed cubes toward the blades, so you get a fuller, friendlier texture every time.
How Much Ice Should You Put in the Blender?
A good rule is to fill the blender only about one-third full with ice cubes, or use around 400 g for a typical batch. That gives you enough ice for a solid crush while leaving space in the pitcher so the cubes can move. If your batch is smaller, cut back a little.
If you crowd the jar, the ice can pack together and miss the blades. You don’t need to guess much here. Think of the blender as a team player, not a storage bin.
For thicker loads, work in two rounds instead of forcing everything in at once. That keeps the texture more even and helps you feel in control. With the right amount, you’ll get smoother crushed ice and less stress at the start.
Fix Common Blender Ice Problems
If your blender turns ice into a sad snowbank or a noisy chunk pile, don’t worry. Most problems have a simple fix. You aren’t alone, and your kitchen crew can win this round.
- Use short pulses, not a long grind, to prevent motor overload.
- Stop and scrape down frozen clumps before they pack around the blades.
- Check your manual, because some machines need smaller batches to prevent blade jams.
- Let the ice sit for a minute when it feels rock hard, then try again.
When the motor smells hot, pause and let it cool. When the blades stall, add a few cubes at a time and keep the lid locked. With a steady pace, you’ll get smoother results and a calmer blender.
How Fine Should Crushed Ice Be?
So, how fine should crushed ice be? It should be fine enough to feel soft, but not so powdery that it turns mushy quickly. The best texture usually falls between tiny shards and small flakes, giving you a light crunch with a smooth mouthfeel.
If the flake size is too large, the ice can feel sharp and uneven. If it’s too small, it melts quickly and loses its fresh, snowy look. For a balanced result, aim for pieces that mound easily and still separate slightly when you stir them. That way, you get crushed ice that feels neat, cool, and easy to serve without losing its appeal too fast.
Best Ways to Use Crushed Ice
Crushed ice works best when you use it intentionally, because its soft, airy texture can improve both the look and feel of a drink or dish. It can add a warm, welcoming touch that helps guests feel valued. Use it to dress up:
- cocktails that need a frosty finish
- cocktail garnishes that stand out at the rim
- dessert toppings for sundaes or fruit bowls
- chilled seafood trays that look fresh and inviting
You can also pack it around bottles to keep serving areas looking lively, and it can make smoothies feel more like a café drink. When you scoop it into clear glasses or bowls, you create a festive, shared feel people appreciate. Use crushed ice where texture matters most, and let every serving feel a little more polished.
Store Crushed Ice Without Clumping
To keep crushed ice from turning into one soggy clump, you need to slow down melting and stop the pieces from sticking together.
Place it in freezer bag storage, press out extra air, and seal it tightly so the cold stays steady. Then spread the bag flat, because a thin layer freezes faster and resists clumping better. For extra protection, use anti-clumping methods such as dusting the ice with a tiny splash of cold water before refreezing, or adding it to a chilled container with a lid. You can also shake the bag once or twice after freezing so the pieces stay loose. If you’re storing it for a crowd, keep it in the coldest part of your freezer and use it soon, since crushed ice tends to clump when left too long.
Clean Your Blender After Crushing Ice
Once the ice is crushed, your blender needs a quick reset so it doesn’t keep dripping, sticking, or smelling like last night’s smoothie. You belong in a kitchen that feels fresh, so clean it right away. Unplug the base, then separate the pitcher and lid. Rinse out loose ice chips, and wipe the outside dry. For blade cleanup, add warm water and a drop of soap, then blend for a few seconds. This also helps rinse the motor area, because it clears tiny bits from the jar.
Wash the pitcher with a soft sponge. Scrub the lid and gasket gently. Dry each part fully before storing. Check under the blades for trapped ice.
Frequently Asked Questions
Can I Crush Ice in Any Blender?
No, you cannot crush ice in just any blender. You need durable blades, an ice-crush or pulse setting, and the right size ice cubes to keep both you and your blender safe.
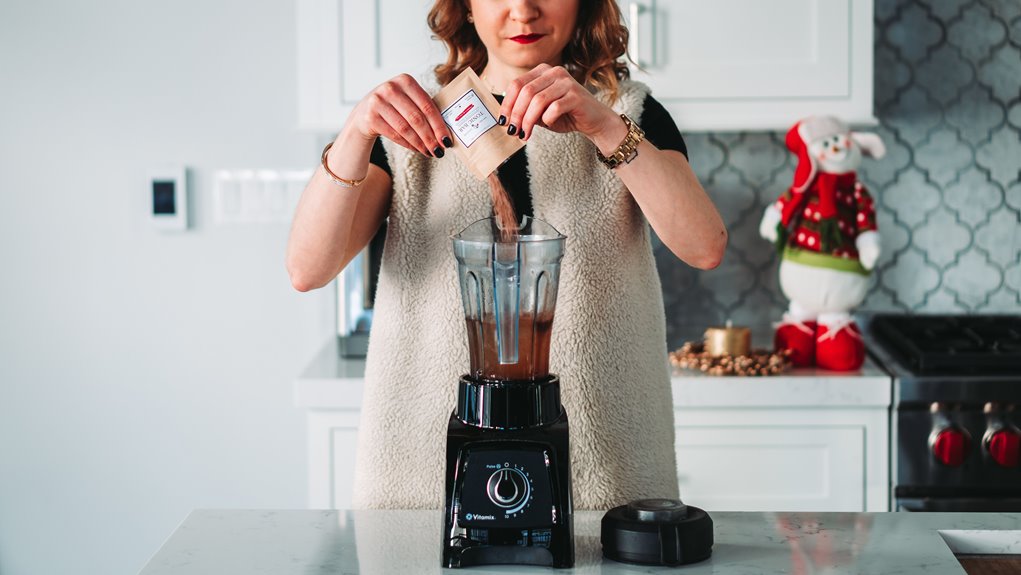
Should I Add Water Before Blending Ice?
Usually, you do not need water, but a small splash can help when your blender struggles. Keep the blender water ratio low for better texture consistency, and you will get crushed ice without turning it slushy.
How Do I Prevent My Blender From Overheating?
You’re best off using short pulses, not long runs, and resting the blender between batches. Keep the motor cool, follow the duty cycle in the manual, and do not overload the pitcher. You’ll be in the clear.
Can I Freeze Crushed Ice for Later Use?
Yes, you can freeze crushed ice for later use, but it will clump and lose its texture. For better storage and freezer safety, seal it in a bag or container, then use it soon.
Is Pulse Better Than Continuous Blending?
Yes, pulse is better than continuous blending because it gives you more control and helps protect the texture of your ice. Continuous blending can overheat the mixture, while brief bursts let you achieve a smooth, even crush. Use short pulses instead of nonstop blending.