
Blender blades usually do not fail all at once, and you may not notice the gradual wear until your smoothie turns chunky or your ice starts bouncing around. How often you replace them depends on how much you use the blender, but the more important question is what to watch for before the blades wear out. If you want to avoid weak blends, noisy strain, and a jar that starts acting stubborn, there are a few clear signs that it is time.
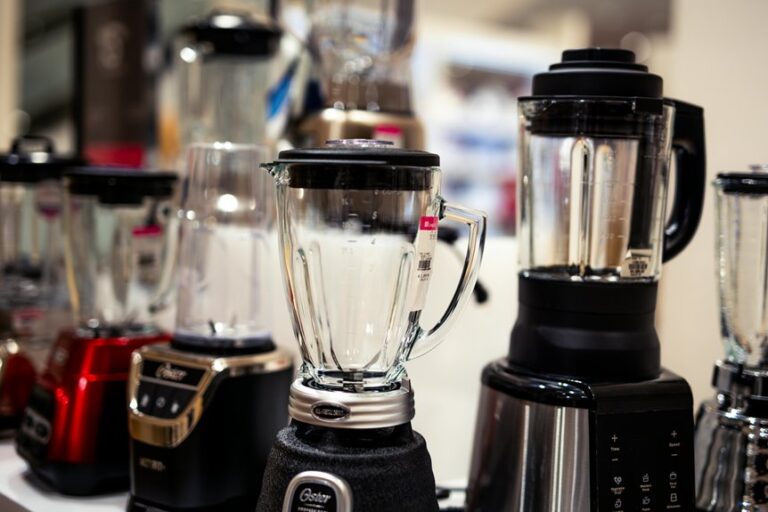
How Often Should You Replace Blender Blades?
How often should you replace blender blades? You don’t need a fixed calendar because replacement timing depends on how often you blend, what you blend, and how well you clean the unit.
If you use it daily, you may need new blades every 1 to 3 years. If you blend only occasionally, your blades can last 5 years or more.
To stay ahead of problems, inspect the blender once a month and unplug it first. Check the edges, alignment, rust, bends, and any loose parts.
If you crush ice or grind grains often, do a more thorough yearly inspection. This simple habit helps you stay prepared, protects your blender, and keeps your kitchen running smoothly.
What Are the Signs of Dull Blender Blades?
Whenever your blender blades become dull, you may notice that ingredients no longer mix evenly. Chunks of fruit, ice, or greens may remain even after blending longer than usual.
If the blender needs extra time to achieve a smooth result, the blades may need attention.
Uneven Blending Results
Dull blender blades often show up in the bowl before they show up on the blade itself, and that can be frustrating because you expect a smooth mix, not a surprise salad of chunks. When you notice uneven blending results, you aren’t imagining it. The mix may look lopsided because air pocket formation stops ingredients from moving, and ingredient redistribution never finishes the job.
You can spot the pattern quickly:
- Soft items cling to the sides.
- Frozen bits stay whole.
- Smoothies turn grainy in spots.
That uneven texture can make it feel as if your blender isn’t working for you, but you aren’t the problem. If the same batch blends better one day than the next, the blades may be losing their edge and failing to pull everything in evenly.
Increased Blending Time
When your blends are already turning out uneven, time is often the next clue. You may notice the cycle running longer as the blender works harder to complete the same job. That extra time can point to dull blades, since they stop cutting cleanly and begin pushing food around.
| Clue | What it means |
|---|---|
| Longer cycles | Blades are not slicing well |
| Hotter jar | Motor strain is increasing |
| Same job, more time | Wear is likely building |
If you keep pressing start again, you are not just waiting longer, you are asking the motor to fight through each batch. When frozen fruit, nuts, or leafy greens now need extra rounds, the blades may be worn. You deserve smooth results, not a blender that acts like it needs a coffee break.
What Wears Out Blender Blades Faster?
Hard ingredients like ice, nuts, and frozen fruit can wear blender blades down faster because they strike the edges hard each time you blend. Using the blender at high speed often adds more heat, friction, and stress to the blade assembly.
Poor cleaning habits can also leave grit and stuck food behind, which makes the blades work harder than they should.
Hard Ingredients Damage
Even the toughest blender blades can wear down faster when you keep feeding them hard ingredients like ice, frozen fruit, nuts, and grains. Each heavy load adds crushing stress and grinding impact, which can nick the edges and strain the assembly. You don’t need to avoid these foods, but you do need to handle them carefully.
- Use short bursts instead of long runs.
- Cut large pieces before blending.
- Check for dull spots or unusual noise after use.
If you notice slower blending or chunky results, your blades may be showing signs of wear. With a little care, you can extend the life of your blender.
Frequent High-Speed Use
Frequent high-speed use can wear blender blades down faster because the motor keeps pushing the same parts at full force, cycle after cycle. When you blend smoothies, soups, or ice often, the blades can lose their sharp edge sooner, and you may notice slower spinning or chunkier results.
High-speed use also adds motor strain, which heats the base and shakes the assembly more than gentle use does. Give your blender cooling breaks between batches, especially if you’re working through a busy kitchen routine. That pause helps protect the blade set and keeps performance steady.
If you use your blender every day, check the blades often for dullness, wobble, or unusual noise. Then you can replace them before a worn blade starts making every blend feel like a workout.
Poor Cleaning Habits
Unless you clean your blender the right way, the blades can wear out much faster than they should. Whenever you leave food stuck under the hub, you invite residue and maintenance neglect, and that grime can trap moisture and dull the edge. You aren’t just cleaning a tool, you’re caring for your kitchen equipment.
- Rinse right away so pulp doesn’t harden.
- Wash around the blade base, not just the jar.
- Dry every part fully before reassembling.
If you skip these steps, rust, odors, and tiny grit can rub the blades each time you blend. That extra friction adds up fast, especially when you blend daily. A clean blade set works smoother, lasts longer, and keeps your blender performing with confidence.
How Long Do Blender Blades Usually Last?
Blender blades usually last for several years, but there’s no exact timeline that fits every kitchen.
Your replacement timing depends on how often you blend, what you blend, and how well you care for the machine. If you use it lightly, you may enjoy five years or more. If you crush ice or grind hard ingredients every day, you might need new blades in one to three years.
That lifespan variation is normal, so don’t worry if yours differs from a neighbor’s. Instead, watch for dull edges, strange noise, rust, or chunky results.
When your blender starts working harder than you do, it’s telling you something. With regular cleaning and quick checks, you can keep your kitchen equipment running smoothly.
Replace the Blades or the Jar?
Sometimes the real question isn’t just when to replace the blades, but whether the jar itself is the problem. You can save time and money by checking both parts together.
- Look for cracks, cloudiness, or leaks in the jar.
- Check for worn seals, loose fittings, or shaky pitcher compatibility.
- Compare the cost of jar replacement with a new blade assembly.
If the jar is warped, a new blade won’t fix poor blending. If the blades are dull but the jar is solid, replace the blades first. Focus on the real issue, not the loudest one. Also, follow your blender’s model guide, because the right fit keeps the system steady and safe. When both parts show wear, replace the whole set so your next smoothie starts strong.
Can You Sharpen Blender Blades Safely?
Yes, you can sharpen some blender blades, but that doesn’t always mean you should. If you try it, you need steady hands and safe maintenance practices, because one slip can nick you fast.
Many blade sharpening myths make this sound like a quick fix, but blender blades are often thin, angled, and hard to reach. Sharpening can change balance and reduce blending performance. You’ll usually do better by replacing a worn assembly when you see dull edges, rust, bends, or loose parts.
If your blender still works well, gentle care and proper cleaning habits can help it last longer. When performance drops, check the whole system first. That way, you protect your equipment, your hands, and your kitchen routine.
How Do You Clean Blender Blades Correctly?
After sharpening, cleaning your blender blades the right way helps protect both the edge and the rest of the blade assembly. You’ll feel better knowing the job stays simple and safe. First, unplug the blender and use safe disassembly so you can reach the blades without rushing. Then rinse away loose food with warm water and a drop of mild soap. Avoid harsh pads because they can scratch metal and wear seals.
- Soak the parts briefly.
- Brush around the base and under the blade.
- Finish with thorough drying before you reassemble.
That last step matters because trapped moisture can invite rust and reduce performance.
With a calm routine, you keep your kitchen appliance ready, clean, and working well.
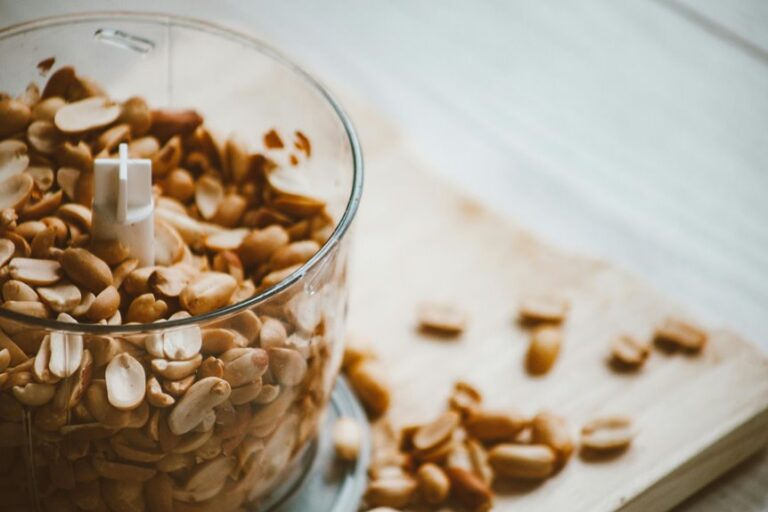
What Foods Wear Down Blender Blades Fastest?
Which foods wear out blender blades the fastest? The toughest ones are usually ice, hard nuts, seeds and skins, and stringy fibrous vegetables. These ingredients force the blades to work harder, so they can dull faster if you blend them often.
Frozen fruit with thick peels can add extra strain as well. If you make smoothies every day, you may notice a rougher texture sooner than expected, and that’s normal.
To help protect your blender, break hard ingredients into smaller pieces and add enough liquid. Also, avoid overfilling the jar, since crowding makes the blades work harder.
With a little care, you can keep your blender running smoothly and enjoy better blends.
When Should Damaged Blender Blades Be Replaced?
You should replace damaged blender blades as soon as you notice visible wear such as cracks, bends, rust, or dents.
If your blender starts leaving chunks, takes longer to blend, or makes unusual noises, that’s a strong sign the blades are no longer working properly.
Acting quickly can help prevent a messy breakdown and keep your next smoothie from turning out lumpy.
Visible Blade Damage
At the point the blades on your blender start to show real damage, it’s time to take that seriously. You belong to the group that checks before trouble grows, and that habit saves stress. Use crack detection and corrosion spotting during a quick monthly look, with the unit unplugged. If you see bends, chips, rust, or loose parts, don’t wait.
- Stop using the blender if the edge looks jagged.
- Replace the blade if corrosion spreads past a small spot.
- Check the assembly if it wobbles or feels loose.
These signs tell you the blade isn’t just worn, it’s unsafe. You don’t need perfection here, just a careful eye and a smart move. Replace damaged blades beforehand, and keep your kitchen circle safe and confident.
Reduced Blending Performance
Often, reduced blending performance is the first quiet clue that your blender blades need attention. You might notice slower performance, longer cycles, or a grainy result that will not smooth out. When that happens, check how the blade handles soft fruit, ice, and nuts. If your texture consistency shifts from creamy to lumpy, replacement may be due.
| Checkpoint | What you might notice |
|---|---|
| Soft fruit | Leaves chunks |
| Ice | Takes longer to crush |
| Greens | Float untouched |
| Motor sound | Gets louder |
| Final mix | Feels uneven |
These signs often appear together, so trust the pattern. You are not being picky, you are noticing wear early. That helps you keep your kitchen routine easy, safe, and effective.
How Can You Make Blender Blades Last Longer?
To help your blender blades last as long as possible, start with small habits that protect them every day. Treat your blender like a teammate, not a workhorse, and it will return the favor. Clean it right after use so food can’t harden on the metal. Then store it properly by drying the parts fully and keeping them safe from bumps. Also, avoid overload by adding tough ingredients in smaller batches and with enough liquid.
- Use short blending bursts.
- Check for loose parts monthly.
- Replace worn seals quickly.
These steps reduce strain, limit rust, and help you catch problems early. If you care for the blades this way, you’ll get smoother blends and a longer lifespan.
Frequently Asked Questions
How Often Should I Inspect Blender Blades for Wear?
Check your blades monthly for signs of wear. If you use your blender daily, inspect them once a year as well. This helps you spot dull edges, rust, bends, or looseness early, and keeps your blender working reliably.
Do Different Blender Brands Need Blade Replacement Schedules?
Yes, some brands do. Check the brand specific maintenance guides, because warranty variations can change what is recommended. Premium blenders often use condition based replacement, while others suggest fixed intervals.
Can Blade Problems Cause Leaks in a Blender?
Yes, blade problems can cause leaks in your blender. Watch for signs of seal damage and check the gasket for wear regularly, because loose, bent, or worn blade assemblies can let liquid escape and damage the appliance.
Should I Replace Blades After Heavy Ice Crushing?
Not always. After heavy ice crushing, inspect the blades first. Daily users might need replacement every 1 to 3 years. If you notice blade fatigue, dullness, or noise, replace them soon for smoother blending.
What’s the Safest Way to Check Blades Before Replacement?
Unplug it, then inspect the blades for cracks, rust, bends, and looseness. Gently check blade stability by hand. If it wobbles, replace it. This helps keep you and your blending crew safer.