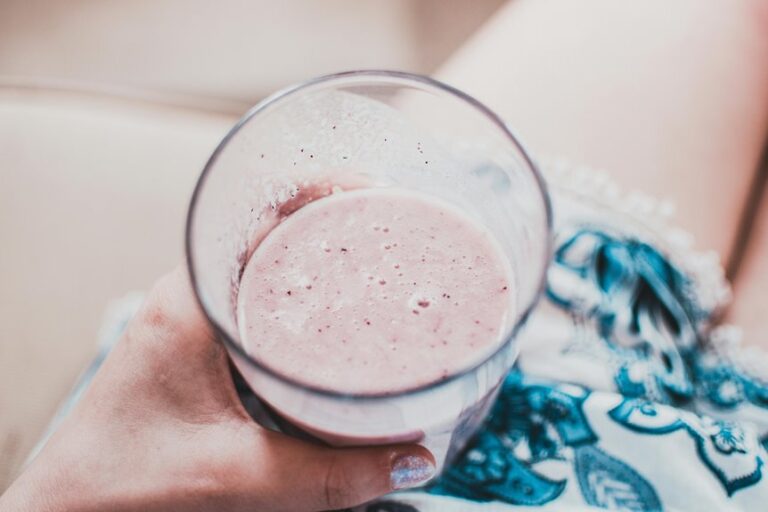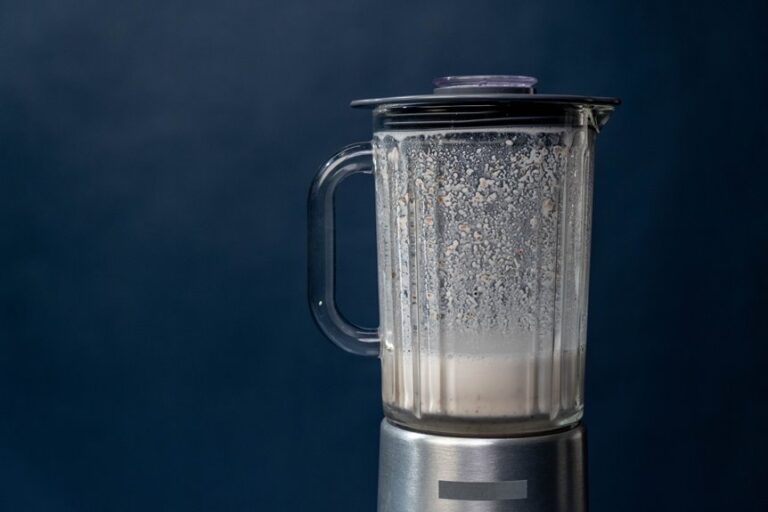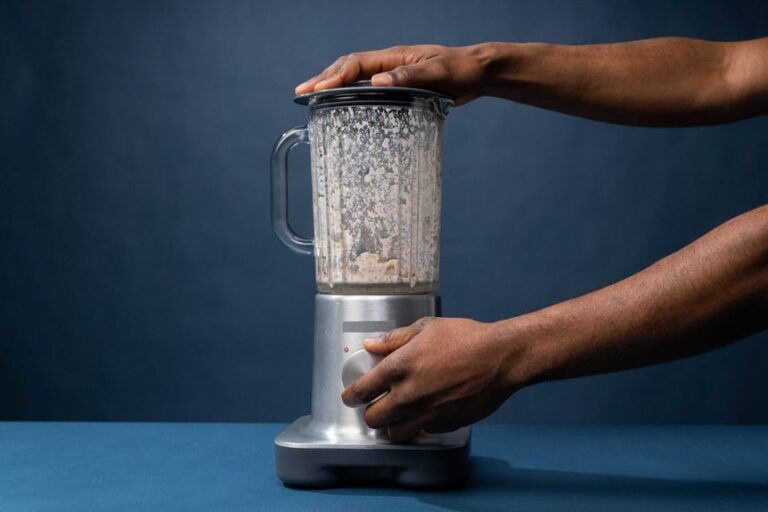
If you have ever blended a soup or smoothie and watched a foamy swirl rise up, you know how frustrating that can feel. You can prevent that by following a few simple habits. Start with the right container, add wetter ingredients first, and keep the blender head low and steady. Once the mixture turns smooth, adjust the speed as needed and remove any foam before it gets mixed in.
How to Blend Without Air Bubbles
Whenever you want a smooth blend without a foamy mess, start by keeping the motion gentle and the setup smart. You aren’t alone if splashes and bubbles have ruined a recipe before. With quiet blending, you guide the mixture instead of whipping it.
Choose a tall, narrow container because container choice shapes how much air gets pulled in. Keep the jar only partly full, and add liquids before solids so the blades can work without dragging in extra air.
If you use an immersion blender, keep the head under the surface from the start. Then move it in a steady line, not in wild sweeps. If the mix still looks lively, stop as soon as it turns uniform.
Start Slow, Then Increase Speed
Start at low speed so you can control the mix before it gets foamy. Then raise the pace only as needed, and keep an eye on the surface for signs that air is getting pulled in.
When you see bubbles building quickly, ease back right away so you stay in control of the texture.
Begin At Low Speed
A gentle initial pass makes a big difference because low speed gives the ingredients time to combine without pulling in extra air. You stay in control, and steady motor control matters here because a calm hand keeps the blend smooth. This gradual increase in speed lets you observe how the mixture behaves before it becomes more active.
If the blade starts too fast, it can trap bubbles quickly, and no one wants a foamy result. Keep the setting gentle, watch the texture, and let the mixture settle into motion. When you blend carefully, you support smooth results from start to finish. That quiet start builds confidence in your tools and helps every ingredient come together without a rushed, messy outcome.
Gradually Increase Mixing Pace
As the mixture starts to come together, increase the speed a little at a time so you don’t pull in too much air. That gradual increase helps you stay in control, so the blend feels smooth and even.
- Let the blades settle before each adjustment.
- Use pulse blending when the mixture feels thick.
- Keep the jar steady so the flow stays consistent.
- Stop as soon as everything looks uniform.
You aren’t rushing the process, you’re guiding it.
A small increase can help stubborn bits move without making the whole batch foamy.
If the texture starts to feel loose or overworked, reduce the speed and let the mixture settle. That keeps the result close and creamy, while helping you stay in control of the blend.
Watch For Air Incorporation
As you blend, watch closely for air sneaking into the mixture, because that’s usually the first sign the speed is too high. You’ll see tiny bubbles, a pale foam ring, or a spinning dip that pulls the top down. That dip shows vortex formation, and it can draw in air quickly.
Keep the blender calm at first, then raise the speed only slightly when the ingredients still need help. If the mix starts sounding splashy, reduce the speed right away. You don’t need to rush or push for a noisy whirl.
Instead, aim for smooth circulation, where everything moves together without pulling in air. That steady pace protects texture, keeps the mixture dense, and helps you stay in control from start to finish.
Use Foam-Reducing Blending Techniques
Start with a gentle blend, because speed can make or break how much air sneaks in.
You can keep foam control strong when you focus on reducing turbulence from the first second.
Start low, then pulse in short bursts so the mixture stays calm and doesn’t whip up.
- Use a tall, narrow jar.
- Keep the blade just below the surface.
- Add liquid first, then solids.
- Stop once everything looks smooth.
If you’re using an immersion blender, move it straight up and down, not side to side.
That steady motion helps your blend feel more settled and better combined.
Finish with a brief low speed pass, then let the mixture rest for a moment.
In that quiet pause, small bubbles can rise and fade without a fuss.
Prep Ingredients to Prevent Air Bubbles
You can reduce bubbles before you start by measuring each ingredient first, so you aren’t rushing or overfilling the blender.
Then let cold or sticky ingredients rest for a moment, because that short pause helps trapped air settle out.
Once everything starts calmly, your blend has a better chance of staying smooth.
Measure Ingredients First
Measure everything before the blender turns on, because a tidy prep setup does a lot of the work for you. Once you handle ingredient scaling with care, you give your blend a calmer start and a smoother finish. Good measurement accuracy helps you avoid overfilling, uneven texture, and the extra air that sneaks in when you guess.
- Set out each ingredient in the order you’ll add it.
- Use the same cup or scale for every batch.
- Check liquids at eye level for a clear reading.
- Keep your amounts close to the recipe, not the mood.
When your ingredients are measured well, they move together in a controlled way. That steady flow keeps the blender from fighting loose extra volume and helps you stay in control from the first pour.
Let Ingredients Rest
Letting ingredients rest before you blend can make a big difference. A short pause gives trapped air time to escape on its own. This helps the mixture settle and keeps foam from building too quickly. After measuring, leave the bowl or jar still for a minute or two. If you just shook or poured the ingredients, this pause matters even more.
| Rest step | Why it helps |
|---|---|
| Set the jar down | Air loosens |
| Wait briefly | Bubbles rise |
| Check the surface | Foam drops |
| Stir gently if needed | Trapped air escapes |
| Blend after resting | Texture stays smoother |
When you let the mixture rest, you create better conditions for even blending. Bubbles can rise before the blades whip them in. This simple habit fits easily into your routine and helps you stay in control of the process.
Remove Foam and Air Bubbles After Blending
- Rest the blend briefly.
- Tap the container softly.
- Skim the surface foam.
- Strain through a fine sieve.
You can also give the blender a few short, low-speed pulses to release trapped air without adding more. That short pause can make your drink feel smoother, richer, and closer to the result you wanted.
Adjust Your Method for Different Recipes
Different recipes need different blending techniques, so you’ll get better results if you match your method to the ingredients in front of you.
For thick smoothies, use recipe-specific adjustments such as adding liquid first and blending in short bursts. For purées, keep the jar tall and the blade low so you maintain control. If you’re making a sauce, use texture-targeted blending so you can stop as soon as it looks smooth, not silky and overworked. When you work with fibrous greens, cut them smaller and blend them with softer items first. For nut mixes, start slowly and let the blades build momentum. These small adjustments help you adapt to the recipe, and your blender will work more efficiently.
Avoid These Blending Mistakes
Even when you match your blender method to the recipe, a few common mistakes can still slip in and create foam.
You can avoid most problems by slowing down and watching how the ingredients move. A steep blade angle or shallow container depth can pull in extra air quickly, especially when you rush.
- Start on low speed.
- Keep liquid above the blades.
- Add dry items in small handfuls.
- Pause when the mixture looks even.
If you keep the jar about two-thirds full, the swirl stays calm, and the blend is less likely to splash. Then let the mixture rest for a moment before serving.
That short pause helps bubbles rise, which gives you a smoother texture and a more consistent result.
Frequently Asked Questions
How Do I Choose the Best Blender Blade Shape for Less Foam?
Don’t assume every sharp blade works best. Choose rounded or angled blade geometry that reduces vortex control, so you pull in less air, get smoother blends, and feel confident selecting a quieter, foam-resistant blender.
Can Blender Jar Material Affect Air Bubbles During Blending?
Yes, jar material can affect air bubbles during blending. You will usually get better bubble control with smoother, taller jars than with rough plastic. You will also keep ingredients moving more evenly, which helps the blend feel calmer and more consistent.
Why Does Pulsing Sometimes Create Fewer Bubbles Than Steady Blending?
Pulsing creates fewer bubbles because the liquid has time to settle between bursts, which reduces vortexing. With pulse control, you can reduce bubbles more effectively. For example, when blending a smoothie, brief bursts help keep it creamy and less frothy.
How Should I Blend Hot Soups Without Trapping Steam Bubbles?
Blend hot soups on low speed, keep the blade submerged, and use short pulses. Let steam escape briefly, then let the soup rest. Use cooling methods and steam release techniques so you do not trap bubbles.
Does Altitude Change How Much Foam Forms While Blending?
Yes. Higher altitude can make foam form more easily because lower air pressure lets bubbles expand faster. You will usually get better results if you blend more slowly, reduce turbulence, and let the mixture rest briefly.