Making juice concentrate at home is simpler than it sounds, and you can do it with fruit you already trust. Start by choosing ripe fruit, then wash, prep, and juice it before simmering the liquid down into a richer, sweeter form. The key is knowing when it is thick enough, how to strain it properly, and how to store it safely so it stays fresh. Once you understand those steps, the rest becomes surprisingly easy.
Ingredients and Tools for Juice Concentrate
Before you start making juice concentrate at home, gather the right fruit and a few simple tools so the process feels smooth instead of messy. You’ll want ripe fruit, a knife, a cutting board, a bowl, a strainer, and a clean pot or blender. Wash everything well, because good glass container sanitation starts before you pour anything in.
Keep a spoon nearby for stirring and a fine mesh sieve for clearer juice. If you plan to store extra concentrate, use sealed jars that fit your fridge or freezer. A simple label and date storage habit helps you track freshness without guesswork. With these basics ready, you can move from prep to pressing with less stress and more confidence.
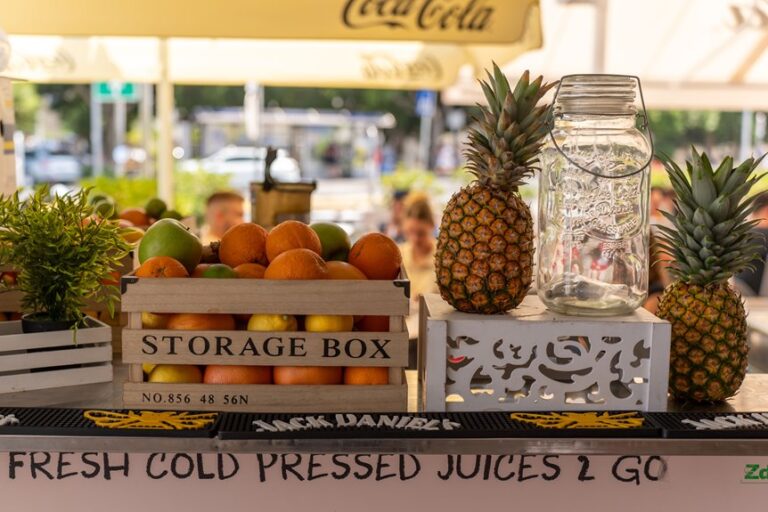
Which Fruits Work Best for Juice Concentrate
The fruit you choose sets the tone for your concentrate, so this step matters. Start with ripe fruit that tastes strong before you begin cooking.
Citrus, grapes, berries, and apples are often the best choices because they provide vivid color and lively flavor. In terms of flavor intensity, blackcurrants, grapes, and tart cherries rank near the top, while peaches and apples are milder and sweeter.
If you want a bright, punchy concentrate, choose citrus or berries. If you prefer something softer and more familiar, go with apples or pears. You can also blend fruits to create a more personal flavor.
Choose fruits that match the result you want, and you’ll make a concentrate that suits your kitchen well.
Wash, Prep, and Juice the Fruit
Start by washing your fruit well so you can remove dirt, wax, and any leftover residue.
Then peel, slice, or chop it as needed, and remove seeds, pits, stems, and tough peels that don’t belong in the juice.
After that, use a juicer, blender, press, or even your hands to extract fresh juice that you can strain and concentrate.
Wash Fruit Thoroughly
Give your fruit a careful wash so your concentrate starts clean and tastes bright. You aren’t just rinsing away dirt, you’re protecting produce safety and building surface hygiene from the start. Hold each piece under cool running water, and gently rub the skin with your hands so concealed grit loosens.
If you’re working with berries or grapes, swish them in a bowl, then drain well. For firmer fruit, a soft brush can help without bruising the flesh. You don’t need soap, because plain water does the job better and keeps flavors pure.
After washing, set the fruit on a clean towel or rack so extra moisture can drip off. That small pause helps your prep feel calm, tidy, and ready for the next step.
Remove Seeds And Peels
Now that your fruit is clean and dry, you can prepare it for juice by removing anything that could cloud the flavor or interfere with the process.
Start by removing seeds so the finished juice doesn’t turn bitter or gritty. Slice apples, pears, or citrus into neat pieces, and trim away peels if they’re thick, waxy, or bitter. For oranges and lemons, peeling helps keep the taste bright and fresh.
If you’re working with grapes, remove the stems and check for any hidden seeds. Take your time here. Careful prep makes the entire batch easier to handle, and it helps you work with confidence in your own kitchen.
Once the fruit is cleaned up, you’re ready for the next step.
Extract Fresh Juice
Wash your fruit well under cool running water, because a clean start makes the whole juice making process smoother and safer.
After that, pat it dry, then cut, crush, or leave it whole, depending on the fruit and your juice extraction methods. Soft grapes can go straight in once you have removed the stems, while apples and oranges usually need slicing first.
Next, feed the fruit into a juicer, blender, fruit press, or use your hands if you’re keeping it simple. Then strain the liquid through a fine sieve or cheesecloth to catch pulp and seeds. This step improves fresh juice yield by helping you collect every useful drop. When you want a clearer base for concentrate, strain it twice. Keep the juice moving into a clean container, and you’ll be ready for the next step.
Simmer the Juice to Reduce Water
Pour the filtered juice into a wide, shallow pan so it can lose water faster as it heats.
Set the pan over low heat and keep the simmer soft, not wild. You want gentle evaporation, which lets the flavor stay bright while the extra water slips away.
Stir now and then so the juice doesn’t settle or stick, and keep the motion easy. This low-heat reduction helps you stay in control, so the concentrate feels smooth and balanced.
If the aroma starts to shift too fast, ease up right away. You’re building something good here, step by step, and that calm pace makes a real difference.
As the juice thickens, it will start to feel richer and more confident, just like you do.
How to Know When the Juice Is Ready?
How do you know when the juice has reached concentrate strength? You’ll see a slower, thicker drip from the spoon, and it should coat the back of it instead of running off quickly.
Watch for color change cues, because the liquid often looks deeper and brighter as water leaves.
You can also trust aroma intensity signs. The scent should feel bolder, warmer, and more fruit-focused, like the kitchen just got a friendly hug.
Taste a small sip if you’re unsure. It should seem rich, not watery, and the sweetness or tartness should stand out clearly.
If the flavor still feels thin, keep simmering a little longer. When the juice feels smooth, strong, and balanced, you’re in the sweet spot for the rest of your batch.
Strain Out Pulp and Sediment
Now let’s clean up the juice so it is ready for the next step. Pour it through a fine mesh sieve or cheesecloth, and let gravity do most of the work. If you want clearer results, strain it twice to remove fine particles that remain in the liquid. This gives your juice a smoother, brighter finish that looks polished and homemade.
| Tool | What it does |
|---|---|
| Fine mesh sieve | Catches bigger pulp pieces |
| Cheesecloth | Traps smaller bits |
| Second strain | Clears extra sediment |
| Clean bowl | Collects smooth juice |
If the flow slows, gently lift the cloth and let the juice keep moving. Do not press too hard, or you may push grit back in. After straining, check the juice in good light. You want it crisp, clear, and ready for the next stage.
Sweeten and Balance the Flavor
Once your juice tastes concentrated, you can fine tune the sweetness by adding a little sugar at a time and tasting as you go.
If the mix still feels too sharp, you can soften the tart edge with naturally sweet fruit notes instead of covering it up.
The goal is to keep the flavor bright and balanced so your concentrate tastes rich without losing its fresh fruit character.
Adjust Sweetness Levels
When your juice concentrate tastes a little sharp, you can fix that without hiding the fruit flavor. Start with a small spoonful of sugar, then taste again so you stay close to your sweetness preferences.
When you want a lighter touch, try sugar alternatives like honey or maple syrup, but add them slowly because they can change the flavor fast. Stir well after each addition so the sweetness spreads evenly.
Then pause for a minute and taste again, since warm concentrate can seem less sweet than cooled concentrate. You’re aiming for a smooth, friendly balance, not a candy jar. When it still feels lean, add a tiny bit more and stop when the fruit tastes round and inviting.
Balance Tartness Naturally
Tartness can feel sharp at first, but you can calm it without losing the fruit’s natural charm. Whenever you taste your concentrate, trust your palate and make small changes. A little sugar can soften the edge, but honey or a splash of apple juice often gives better natural acid balancing. You can also use tartness softening techniques like blending in sweeter fruit, such as pear or grape.
- Add sweetener a teaspoon at a time.
- Stir in mild juice for a smoother finish.
- Let the concentrate rest, then taste again.
If it still bites, warm it gently and test once more. You aren’t fixing a mistake; you’re shaping a flavor that feels welcoming and balanced for everyone at your table.
Store Juice Concentrate Safely
To keep your homemade juice concentrate fresh, store it properly as soon as it has cooled.
Pour it into sterilized storage containers and leave a little space at the top so it can expand. Seal them tightly, then label each jar with the date so you know what to use first.
If you plan to keep it chilled, place it in the back of the fridge, where the temperature stays steady and safe. For freezer storage, freeze smaller portions in airtight containers so you only thaw what you need. That also keeps your kitchen more organized and reduces waste.
Avoid opening and closing the container often, since warm air can shorten its shelf life.
With careful storage, each batch will stay bright and ready to use.
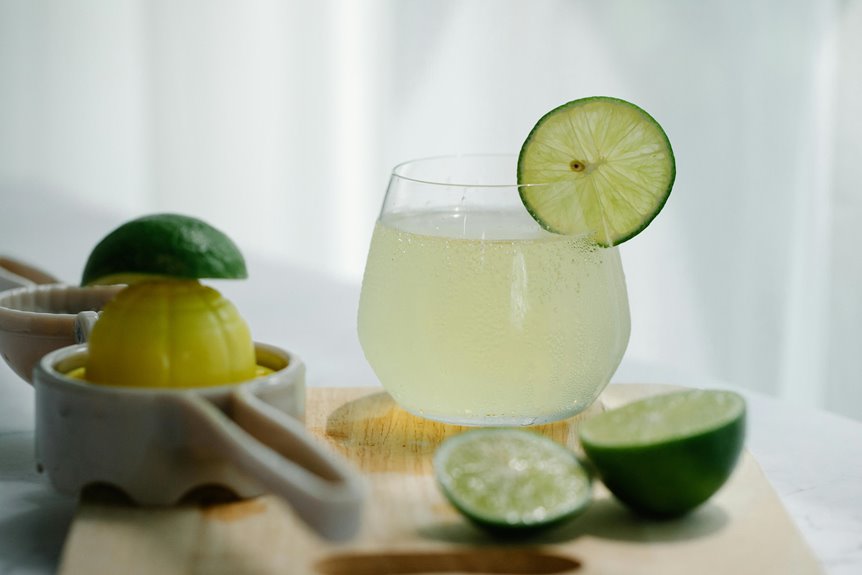
How to Reconstitute Juice Concentrate
Once your concentrate is chilled and ready, reconstituting it’s easier than it sounds. Use the right dilution ratio and taste as you go so you can make a drink that suits your preference. Start with 1 part concentrate and 3 parts cold water, then stir well.
- Taste after mixing and add more water if it’s too strong.
- Use less water if you want a bolder, fuller sip.
- Try sparkling water for a fresh serving option.
You aren’t just mixing a drink, you’re bringing back a flavor you made at home. If you want, pour it over ice, chill it again, or add a splash of citrus for brightness.
Keep a small measuring cup nearby, and you’ll be ready for any kitchen that prefers a smooth, easy pour.
Frequently Asked Questions
Can I Make Juice Concentrate Without a Juicer?
Yes, you can. Your hands work fine, and a blender is a helpful backup. Use hand-squeezed methods or blender alternatives, strain well, then simmer or freeze-thaw. You will end up with rich concentrate, no gadget needed.
Does Freeze-Thaw Concentration Work for All Fruits?
No, freeze-thaw concentration does not work equally for all fruits. Results vary based on sugar levels and pectin behavior, so some juices separate cleanly while others remain cloudy or develop a mushy texture.
How Do I Prevent Scorching While Reducing Juice?
Use low heat and stir constantly to prevent scorching. This keeps the juice moving, reduces sticking, and helps protect flavor. Choose a wide, shallow pan, and do not let it boil hard or sit still.
Should I Sterilize Jars Before Storing Concentrate?
Yes, you should sterilize jars before storing concentrate for better sanitation and storage safety. This helps reduce contamination risk, protect flavor, and extend shelf life. Use clean, airtight jars, and let the concentrate cool first.
Can I Combine Different Fruits Into One Concentrate?
Yes, you can combine different fruits into one concentrate through fruit blending and smart flavor pairing. This creates a unique taste, and you can adjust sweetness, tartness, and balance until it feels just right.