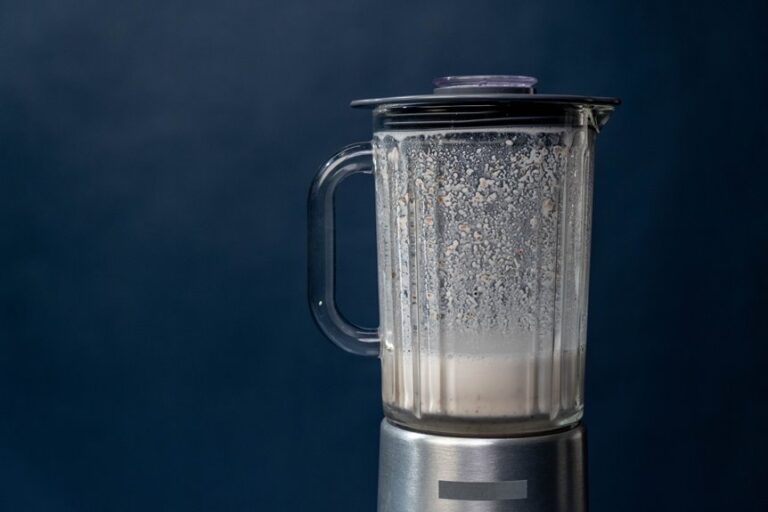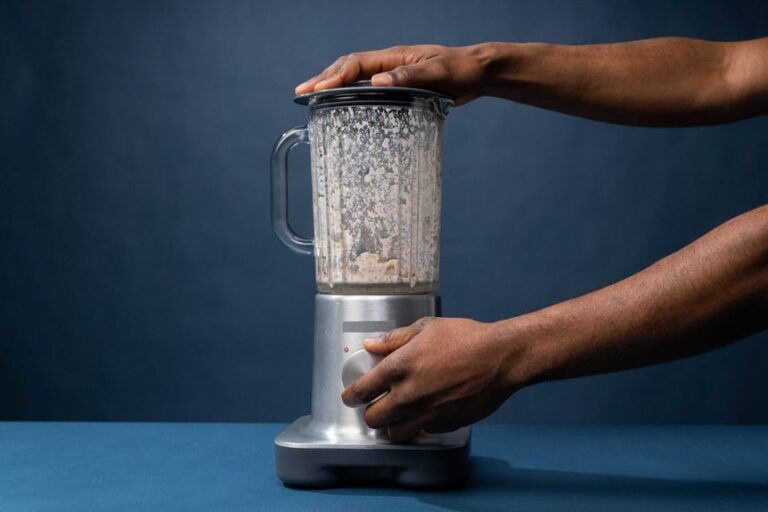

When you blend coconut with water, the result is smooth, rich coconut milk in just a few minutes. You only need the right coconut, a blender, and a little preparation. The process is simple, but your choices affect the taste, texture, and richness, so it helps to start with the part that matters most.
Ingredients and Tools for Coconut Milk
To make coconut milk in a blender, you only need two basic ingredients, coconut and water.
You can use fresh coconut meat, shredded coconut, or unsweetened dried coconut, and each option gives the milk a slightly different texture and flavor. If you want a richer taste, use more coconut. If you want a lighter drink, add more water.
Use measuring tools so you can keep the ratio consistent and avoid guesswork. A measuring cup and a bowl help you stay organized, which makes the process easier.
Before you begin, check blender safety tips, such as securing the lid and removing any shell bits. With the right setup, you can blend confidently and work efficiently.
How to Make Coconut Milk in a Blender
You only need coconut and water to get started, so this step stays simple and easy.
Next, blend the coconut until the mixture looks creamy, then strain it to separate the smooth milk.
After that, store it in a jar in the fridge, and give it a quick shake before you use it.
Ingredients Needed
Ingredients Needed
A simple coconut milk recipe usually starts with just two ingredients, coconut and water. That’s all you need. You can use shredded, dried, or fresh coconut, depending on what you have.
If you want a quick blend, unsweetened shredded coconut works well. When using fresh coconut, save the coconut water from the shell for extra flavor, since it fits these basic ingredients nicely.
- shredded coconut for speed
- fresh coconut meat for richness
- water to set the texture
Choose the amount based on how thick you want your milk. More coconut gives you a creamier result, while more water makes it lighter.
With these simple basics, you don’t need a fancy pantry to feel ready.
Blending The Coconut
Start with the coconut and water in your blender, then let the machine do the hard work for you. Set the blender to low at first, or use a quick pulse, so the pieces break down without making a mess.
Then increase the speed and blend until the mixture looks smooth and creamy. If your blender struggles, stop once or twice and scrape the sides, because every bit helps.
A high-speed blender usually needs only a few minutes, while a standard one may need a little longer. Don’t worry if it looks rough at first, that’s normal.
You’re building the rich, milky base your kitchen team will love, and a steady blend makes all the difference.
Straining And Storing
Once the blender has done its job, the next step is to separate the creamy liquid from the coconut bits and store it for later. Set out your strainer and choose a fine mesh option such as cheesecloth, a nut milk bag, or a tea towel. Pour slowly so the milk passes through and the pulp stays behind. Then press or squeeze the solids gently to collect every last drop.
- Hold the bag over a bowl and twist it carefully.
- Use a spoon to push the milk through when it slows down.
- Save the pulp for muffins or smoothies so nothing is wasted.
For storage, use an airtight container and refrigerate the milk right away. Shake it before use, since it may separate in the fridge.
Choose the Best Coconut for Blending
Choose a coconut that feels heavy for its size and has a firm, mature shell, since that usually means more rich flesh for your milk.
Look for clean eyes, no cracks, and no sour smell, because those are good signs the coconut is still fresh.
If it feels light, sounds dry, or shows mold, skip it and choose another one so your blender gets a better start.
Fresh Coconut Quality
For the best coconut milk, the coconut itself matters more than you might expect. You want one that feels heavy, sounds full when shaken, and gives off a fresh coconut aroma. That scent tells you the coconut hasn’t sat too long. Next, check the shell for cracks, mold, or damp spots. Clean shell cracking tips help you open it without wasting the meat inside.
- Look for a firm shell, not a soft one.
- Choose a coconut that feels cool and fresh.
- Skip any coconut with a sour smell.
When you choose well, blending becomes easier and your kitchen crew gets a richer, cleaner result. You aren’t just buying an ingredient. You’re making a careful choice that starts with quality and ends with milk that tastes bright, cozy, and truly yours.
Mature Flesh Selection
How can you tell which coconut will give you the best milk? Choose a mature coconut shell that feels heavy, hard, and dry in your hand. Then tap it and listen for a firm, clear sound.
After that, crack it open and check the mature flesh texture. It should look thick, white, and firm, not flimsy or overly soft. Because you’re making coconut milk in a blender, this rich flesh gives you better body and flavor. Also, trim away any shell bits so your blend stays smooth and easy to drink.
If the coconut meat pulls away cleanly, you’re on the right track. With the right coconut, you can feel prepared and confident in the kitchen.
Signs Of Spoilage
Sometimes the best coconut is the one that looks healthy and smells right.
When you pick one for blending, trust your senses. You want a coconut that feels firm, sounds full, and shows no cracks or damp spots. If you notice off odors, skip it, because sour or musty smells often mean the flesh has turned. Also check for mold growth near the eyes, shell seams, or any split areas.
- Clean shell, no sticky residue
- Fresh, sweet aroma, not sharp
- No soft spots or dark leaks
After that, give it a gentle shake. Good coconut water inside can signal freshness, and it helps you feel confident in your choice. When you choose well, you join the small group of home blenders who get creamy milk without the disappointment of a bad shell.
Strain Coconut Milk for a Smoother Texture
After blending, strain the coconut milk to turn a gritty mix into a smooth, creamy liquid you can pour with ease. Use a fine mesh strainer, cheesecloth, or a nut milk bag, and place a bowl underneath. Pour slowly, then press the pulp with a spoon or your hands to keep more milk and still achieve a pulp free finish.
| Tool | Ease | Result |
|---|---|---|
| Fine mesh strainer | Easy | Lightly silky |
| Cheesecloth | Medium | Very smooth |
| Nut milk bag | Easy | Best squeeze |
Take your time, because rushing leaves good milk behind. If the cloth feels full, twist it gently and continue. That extra effort helps you end up with a batch that feels fresh and complete.
Adjust Thickness, Sweetness, and Flavor
Should your coconut milk feel too thick, too thin, or a little flat, you can adjust it right away. After straining, stir in a splash of water to loosen it, or use a little more coconut next time to make it richer.
You aren’t limited to one texture, and that’s one of the benefits of making it at home.
- For a creamier cup, use less water in the blend.
- For a lighter pour, whisk in water a little at a time.
- For more flavor, sweeten after straining with a touch of honey, maple syrup, vanilla, or a hint of date.
Taste as you go, and trust your own kitchen style. This helps you shape a milk that feels suited to your table, your mood, and your people.
How to Use Homemade Coconut Milk
Homemade coconut milk is easy to use, and it can add a smooth, rich flavor to many everyday dishes.
You can pour it into curries and soups to add body and a mild sweetness.
It also works well in coffee and smoothies, where it blends in easily and gives each sip a creamy texture.
If you want more flavor, stir it into oatmeal, sauces, or pancake batter.
Use it right after blending for the freshest taste, especially in warm dishes.
Since it has a light natural texture, stir it before adding it to your recipe.
With a few simple uses, you can make your meals more satisfying and more versatile.
How to Store Coconut Milk in the Fridge
Once you have made coconut milk, the fridge becomes your best option for keeping it fresh a little longer. Pour it into an airtight container right away, then seal it in a clean jar or storage container. Leave a little space at the top because it may thicken and separate.
When you’re ready to use it, stir or shake it well so the creamy part blends back together.
- Keep it on a cold shelf, not in the door.
- Label the date so you can track freshness.
- Watch for signs of spoilage such as a sour smell, curdling, or a slimy texture.
You can usually store coconut milk in the fridge for 3 to 4 days, so use it soon and enjoy the homemade flavor while it’s still smooth and fresh.
Freeze Coconut Milk for Later Use
Freezing coconut milk is a practical way to save leftovers and reduce kitchen waste. You can pour it into an ice cube tray to make small portions, then transfer the cubes to a sealed bag once they’re solid.
This lets you use only what you need later and helps you stay organized. If you prefer larger portions, freeze the milk in small containers and leave a little space at the top.
When you’re ready to use it, thaw the coconut milk in the refrigerator. Stir it well after thawing, then use it in soups, smoothies, or sauces.
Fix Watery or Grainy Coconut Milk
If your coconut milk looks a little off after thawing, don’t worry. You can restore the texture with a few simple troubleshooting methods. For watery milk, add a little more coconut, then blend again in short bursts. For grainy milk, warm it gently, strain it, and whisk until smooth. These repair tips help you stay calm and fix the batch quickly.
- Add 1 to 2 tablespoons of coconut to thicken it.
- Strain through a fine cloth to remove rough bits.
- Chill it, then shake before use.
You aren’t alone if it separates or feels thin. Homemade coconut milk can look inconsistent, but it usually comes back with a little care and a quick blend.
Frequently Asked Questions
Can I Use Coconut Water Instead of Plain Water?
Yes, you can use coconut water, and you’ll add extra coconut water flavor. For ingredient substitution tips, replace some or all of the plain water, then taste and adjust so you get the flavor you want.
Does the Water Need to Be Boiling Hot?
No, you do not need boiling water. Just hot or room-temperature water works. In one extraction method, very hot water can increase yield, but you can still blend successfully with your kitchen water temperature and feel right at home.
Which Blender Setting Works Best for Coconut Milk?
For coconut milk, you’ll usually get the best results with a smoothie or standard blend at high speed after a quick pulse. Your blend speed choice matters, and pulse setting tips can help break the coconut evenly and smoothly.
Can I Reuse the Leftover Coconut Pulp?
Yes, you can reuse the leftover coconut pulp. You can use coconut pulp in smoothies, baking, or granola. Store it in an airtight container in the fridge for a few days, or freeze it for later.
How Do I Stop Homemade Coconut Milk From Separating?
You cannot fully stop it, but you can reduce separation. Shake before use, chill it quickly, and store it in a jar. For smoother milk, try proper storage tips and emulsifier options like lecithin.