About one in four people who make homemade almond milk find that the first batch turns out grainy, but you can avoid that with a few simple steps. Soak raw almonds, blend them with cool water, then strain the mixture until it becomes smooth and creamy. After that, you can flavor it, store it properly, and use it in ways that make store bought milk seem plain.
Ingredients and Tools
Before you start blending, it helps to gather a few simple ingredients and the right tools so the process feels smooth instead of messy.
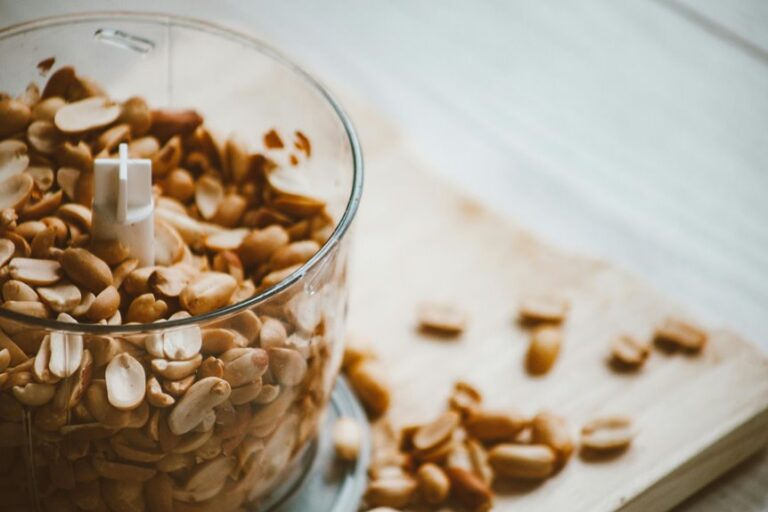
You’ll need raw almonds, filtered water, and, if you want a little personality in the glass, vanilla, dates, cinnamon, or a pinch of salt.
If you need ingredient substitutions, consider them before you begin, since small swaps can change flavor and richness.
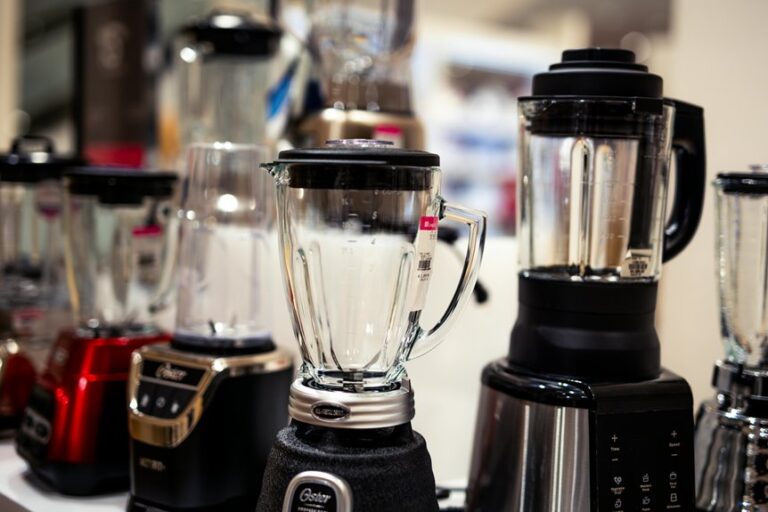
For tools, choose a blender that fits your kitchen, from a basic model to a high-powered one. You’ll also want a bowl for soaking, a measuring cup, and a nut milk bag or fine mesh strainer.
With those pieces ready, you’re set to move into the next step with confidence and ease.
How to Make Almond Milk in a Blender
You’ll get the best almond milk by soaking the almonds first, which softens them and helps the blender work smoothly.
Then blend them with water until the mixture looks creamy, and strain it for a silky finish.
After that, store it in a sealed jar in the fridge and shake it before pouring.
Soaking Almonds Properly
How long should you soak almonds for homemade almond milk? For the best texture, soak them for 8 hours to overnight. This gives the almonds time to soften while still staying easy to handle. The soak also helps create a cleaner taste and makes peeling easier if needed.
| Soak Time | Best For | Result |
|---|---|---|
| 8 hours | Busy days | Soft almonds |
| Overnight | Most batches | Smooth milk |
| 12 to 24 hours | Extra tenderness | Easy blending |
| Warm kitchen | Faster soak | Watch closely |
Cover the almonds fully because they will swell. Then rinse them well before the next step. If you are making almond milk for your household, this short pause helps you start with a calm, creamy base.
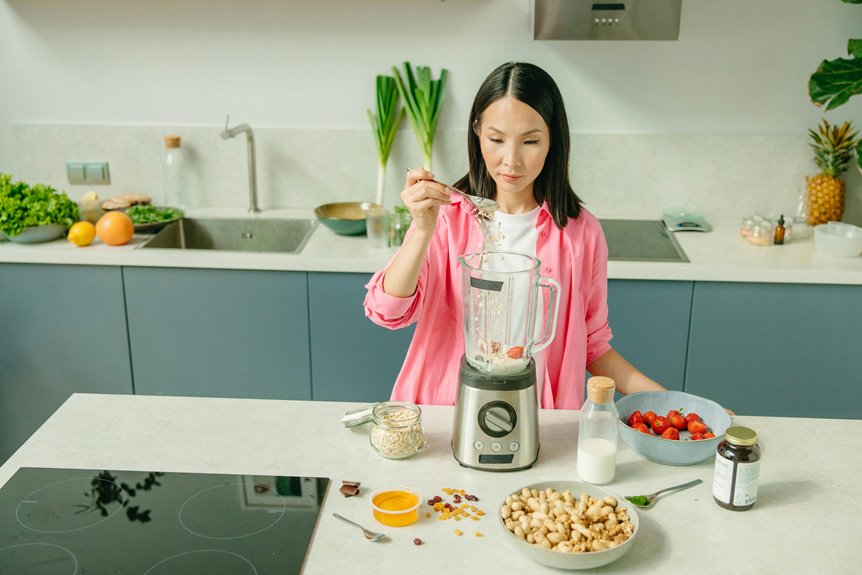
Blending With Water
Once your soaked almonds are rinsed and ready, the blender does the heavy lifting. Add the almonds and fresh water, then let the blender turn them into something silky.
For most batches, use a ratio of 1 cup almonds to 4 cups water, but you can make it richer if you prefer a fuller taste. Keep the water cool or at room temperature, since hot water can change the flavor and texture.
Blend on high for 30 seconds to 2 minutes, until the mixture looks white, creamy, and slightly frothy. If your blender needs help, pause and scrape the sides, then blend again.
You aren’t aiming for perfection here, just a smooth base that feels homemade and welcoming.
Straining And Storing
At this point, your almond milk is almost ready, and the final steps matter more than they seem.
Pour the blended mixture through a nut milk bag set over a bowl or jar. Squeeze firmly and let every drop pass through. If you want a finer finish, strain it again. This gives you a smoother sip and helps you feel confident about the batch you made.
Next, transfer the milk to a clean, airtight container. Chill it right away because cold storage helps preserve shelf life. Shake the jar before each pour since separation is normal. For the best taste, use it within 3 to 5 days. If you save the pulp, you can bake with it later and reduce waste.
Strain for a Smooth Finish
Strain the almond mixture carefully, because this is the step that turns a gritty blend into silky milk. You’ll notice the difference right away when you pour it through a nut milk bag or a fine mesh strainer lined with cheesecloth.
Hold the bag over a bowl, then squeeze with steady pressure so every drop can join the batch. If you want extra fine filtration, press again and work from the top down.
This keeps the milk smooth and helps you feel proud of what you made. Don’t rush this part. Slow hands give you a cleaner finish and a better sip.
Once the liquid looks pale and even, you’re ready for the next step.
How to Flavor Almond Milk
You can make almond milk taste more like a treat by stirring in natural sweeteners such as dates, maple syrup, or a little honey after blending.
If you want more warmth and depth, add a pinch of cinnamon or nutmeg so the flavor feels cozy without becoming too strong.
Start with a small amount, taste as you go, and adjust until you find the mix that suits you best.
Natural Sweeteners
How can you make almond milk taste rich and balanced without covering up its clean, nutty flavor? You can rely on natural sweeteners that feel gentle and familiar. Start with a small amount of maple syrup for a smooth, cozy note, then taste before adding more. If you want a fuller body, stir in date paste, which blends well and adds a soft caramel flavor.
- Add 1 teaspoon maple syrup at a time.
- Blend in 1 to 2 dates for light sweetness.
- Taste after each change so you stay in control.
- Keep it subtle so your almond milk still feels fresh.
These simple choices help you make a drink that feels homemade and welcoming. When you sweeten it with care, you get flavor that fits naturally into your routine.
Spice Additions
A small pinch of spice can make almond milk feel warm, cozy, and a little more special without overpowering its clean nutty taste. When you want added flavor, start small so you can keep the drink balanced and pleasant. Try a light cinnamon dusting for gentle sweetness, or add a little nutmeg for a softer holiday feel. If you prefer a brighter note, cardamom adds a calm floral lift that feels fresh and comforting.
You can blend the spice into the milk, then taste and adjust. If you’re sharing the batch, this helps everyone enjoy the flavor. A tiny pinch of salt can also help the spice stand out, so your almond milk tastes smooth, friendly, and well balanced.
How to Store Homemade Almond Milk
For the best taste and texture, store homemade almond milk in an airtight jar or bottle in the refrigerator right away. Keep it cold at a steady refrigerator temperature and seal it well so it stays fresh. If you have just finished blending, let it cool for a few minutes, then pour it in.
- Use a clean airtight container.
- Leave a little space at the top.
- Shake it before each pour.
- Finish it within 3 to 5 days.
Store it this way to help preserve quality.
If you want it ready for tomorrow’s coffee or cereal, place it toward the back of the fridge, where it stays the coldest.
Why Almond Milk Turns Grainy
If your homemade almond milk turns grainy, you aren’t doing anything wrong, and that can be a relief.
Tiny almond bits often slip through when you blend, and almond pulp residue can stay suspended in the liquid. That gives the milk a sandy feel instead of a silky one.
Overblending can also work against you because too much heat and speed can break the mixture into a rougher texture. Soaking helps soften the nuts, but it can’t remove every speck.
A less powerful blender can leave more texture too. You’re still making real, good almond milk.
The graininess usually comes from the almonds themselves, not from your effort.
How to Use Fresh Almond Milk
Fresh almond milk works best when you treat it like a delicate homemade ingredient, not a shelf stable carton from the store. You can pour it into breakfast smoothies, and it adds a soft nutty taste that feels familiar and comforting. If you want a coffee creamer swap, stir it into warm coffee and enjoy the lighter finish.
- Shake the jar first, because natural separation is normal.
- Use it in oats, cereal, or chia pudding.
- Add it to soups or sauces whenever you want a gentle nut flavor.
- Keep leftovers chilled and use them within a few days.
When you use it soon after making it, you’ll get the freshest taste.
Tips for Creamier Blender Almond Milk
Creamier almond milk starts with the small choices you make before the blender even turns on. Soak your almonds overnight so they soften and blend into a richer drink. Use less water if you want a fuller body, and keep the water cool or at room temperature, because hot water can thin the flavor.
When you blend, start slow, then move to a stronger speed so the nuts break down evenly without overheating. A high powered blender helps, but don’t rush the process. After blending, strain the milk well and press the pulp firmly, since extra liquid adds body.
If you want more richness, blend in a date, a splash of vanilla, or a pinch of salt. You’ll get a smoother, cozier cup that feels made for you.
Frequently Asked Questions
Can I Make Almond Milk Without Soaking the Almonds?
Yes, you can, but the texture will be less smooth and the milk less creamy. For quicker blending, use raw almonds, add extra water, and strain thoroughly. Soaking still helps produce smoother, richer almond milk.
How Long Can Soaked Almonds Sit Before Blending?
Generally, you should not let soaked almonds sit more than 1 to 2 days in the fridge. Your soaking time matters, and proper almond storage keeps them fresh. If they smell off, discard them.
What Can I Do With Leftover Almond Pulp?
You can bake almond pulp into muffins, crackers, or energy bites, or dry it to make flour. You can also compost almond pulp to reduce waste and support a greener kitchen.
Can I Use Roasted Almonds Instead of Raw Almonds?
Yes, you can use roasted almonds, but you’ll get a deeper roasted almond flavor and a different almond milk taste. You’ll likely make a darker, toastier drink that feels cozy, familiar, and a little bolder.
How Do I Make Almond Milk Thicker or Lighter?
You can make it thicker by using more almonds and less water, or lighter by doing the opposite. Adjust the blending ratio to change the consistency, then strain well and add vanilla or sweetener if you like.